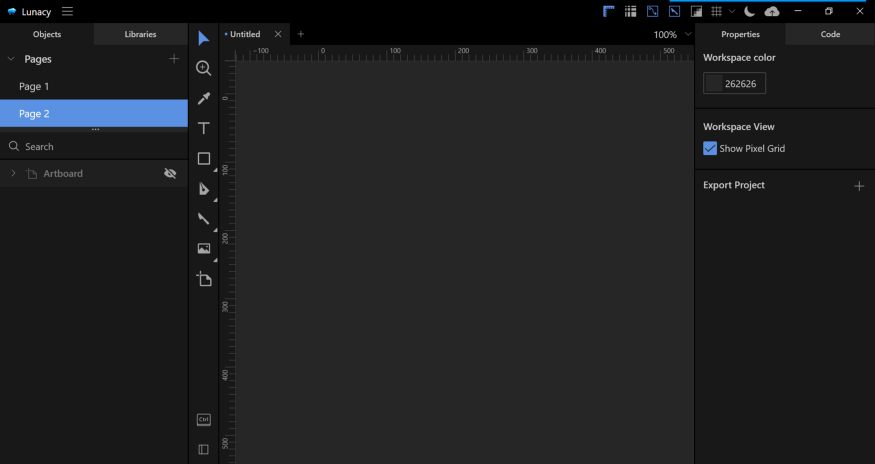
 Lunacy is een gratis grafisch ontwerpprogramma voor Windows en vanaf versie 8.0 ook voor Linux en macOS. Het heeft een grote hoeveelheid ingebakken content, zoals iconen, foto's, gemaskeerde afbeeldingen en illustraties. Het is ook in staat om sketch-bestanden te openen en Sketch-plug-ins te gebruiken. Het programma wordt actief ontwikkeld en Icons8 lijkt daarbij goed naar de community te luisteren. Sinds versie 8.0 is Lunacy cross-platform, wat overigens op dit moment ten koste gaat van ondersteuning voor externe plug-ins. Donderdag is versie 8.2.1 verschenen die enkele problemen moet verhelpen in de eerder deze week uitgebracht versie 8.2.
Lunacy 8.2.1 hotfix
- Fix of high CPU usage on using Google Fonts.
- Fix broken local prototypes in Ms Store app build.
- Fix crash on linux on loading system fonts.
Lunacy 8.2
Color variablesColor variables let you efficiently manage colors in your documents and instantly recolor all the layers using the same color variable. You can apply color variables to fills, borders, and shadows. In the Inspector, color variables appear as colored circles, while regular fills, border and shadow colors appear as colored rectangles. To create a color variable:
- Select a layer.
- Invoke the Color Picker from the Inspector.
- Set the required color.
- Click Create Color Variable.
To apply an existing color variable, select a layer, click the 4-dot icon in the Inspector, then select the required color variable. To edit a color variable, click over the colored circle in the Inspector, then click Settings > Edit variable. To detach a layer from a color variable, select the layer, then click the Detach icon in the Inspector.
Inspector of selected fonts and colorsNow Lunacy displays all fonts and colors of currently selected layers in the Inspector. This lets you quickly view the font and color properties of a selection and edit them, if necessary. By clicking the show font or color icon next to color or font you can switch the selection to the layer(-s) using this color/font.
Live updates and comments in cloud prototypesCloud prototypes now automatically update as you edit the source cloud file. There’s no need to resend links to reviewers after edits. They will see all the changes in real-time. Also, now reviewers can exchange comments with the author of the prototype. To enable the comments mode, move the cursor to the top of the browser window and click Comments on the toolbar that will show up.
Note: To post or reply to a comment you’ve got to log in first. For this, use the Log in button on the toolbar. To leave a new comment, enable the comments mode, then click over the area on the prototype that you want to comment. To reply to a comment, click over it, type your message and click the send icon. To hide comments, click Comments once again.
Improvements
- Lunacy interface is now free of dialog boxes.
- Layer sizes now appear below the bounding box.
- Live editing of layer and text styles. You no longer need to click Save to apply changes.
- Feedback panel with messaging history.
- Redesigned user profile page.


:strip_exif()/i/2003857170.png?f=thumbmedium)